1.2 Drone Registration
This page is for the registration of your drone with the Federal Aviation Administration. For information on how to register your drone with the UC system, see Chapter 4.6.
1.2.1 Drone Registration Requirements
All drones that weigh more than 0.55 lbs (250 grams) must be registered with the Federal Aviation Administration (FAA) to it’s legal owner.
Any drone purchased through the University of California for university business, including teaching and research, is owned by the Regents of the University of California.
1.2.2 How to Register
You can register the drone through the FAA Drone Zone (https://faadronezone.faa.gov). Registration costs only $5 per aircraft and only takes a couple of minutes.
1.2.3 Create an account at DroneZone
Head to the FAA DroneZone (https://faadronezone.faa.gov) 1.7 and select “I fly under Part 107 or as a Public Aircraft”
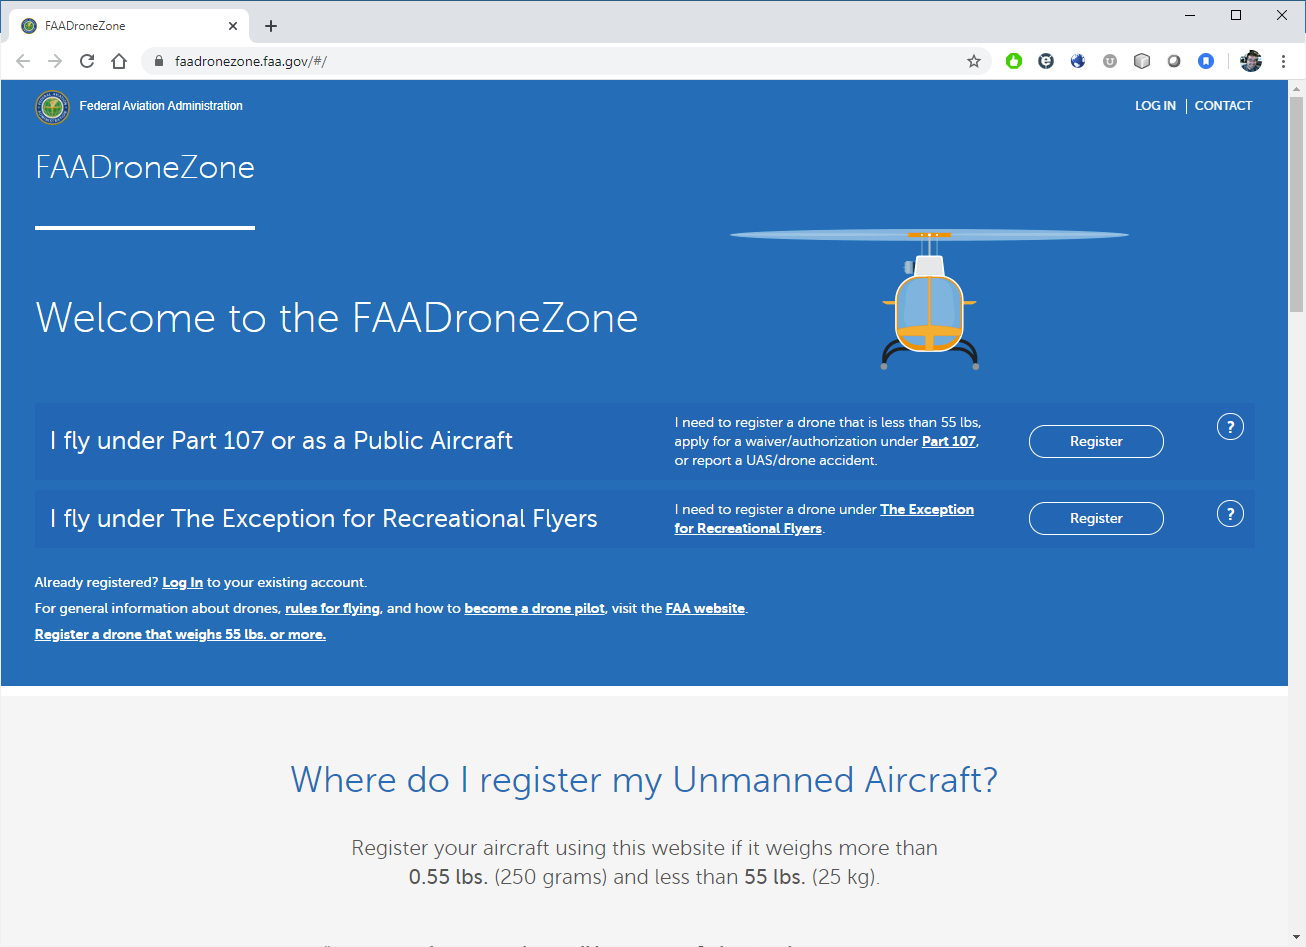
Figure 1.7: FAA DroneZone
Important Note Unfortunately, the FAA’s drone registration website does not allow you to register drones for multiple groups or organizations. If you’re registering a drone on behalf of the University of California, you should use your UC email address as your account log in, and use a personal email address account for any personally-owned drones.
When you enter your Part 107 Account information, enter Regents of the University of California as your Part 107 Account Name to correctly register the drone to the UC system.
If you already have an account, go into your profile settings, and you can modify the Part 107 Account Name on the popup.
1.2.4 Drone Registration
- In the center of your dashboard is an Inventory box - click on ‘Manage Device Inventory’
- The next page is a little strange - the top headline says ‘Your Shopping Cart’ and if nothing is in your shopping cart, there’ll be a big red notice that your shopping cart is empty. If you have drones already registered, they’ll be listed at the bottom under ‘Your Registered Inventory’. Take a moment to understand the layout of this page.
- Click on the ‘Add Device’ button in the upper-right corner to get started.
- On the first dialog, it’ll ask whether the drone has Remote ID. (Figure 1.8)
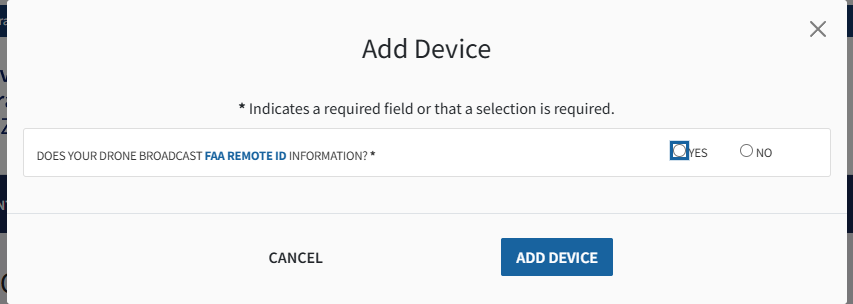
Figure 1.8: Add new UAS Dialog Box
If you select ‘Yes’ to RemoteID, it will ask for the serial number (Figure 1.9). Click on Validate to continue - this will pull up the serial number’s make and model.
- If your drone has RemoteID built-in (known as Standard RemoteID), enter your drone’s serial number
- If you’re using a Broadcast Remote ID module (add-on), enter the Broadcast Remote ID module’s serial number
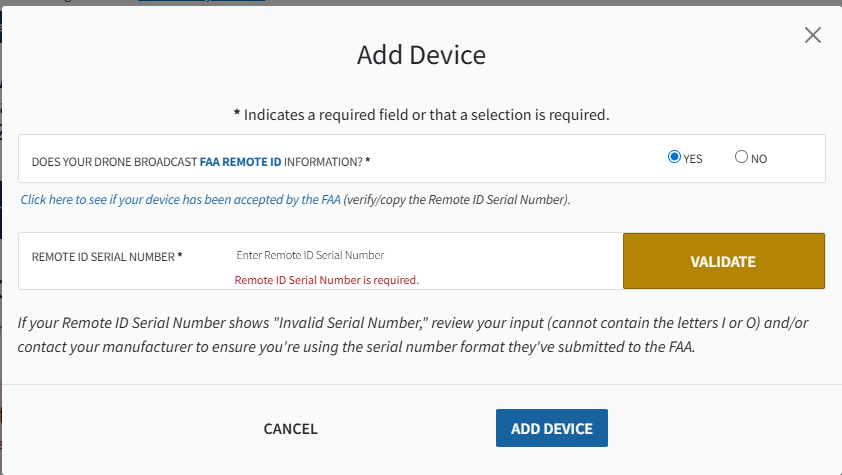
Figure 1.9: Validate Remote ID
- If you selected ‘No’ to RemoteID, the dialog will ask what type of UAS (‘Homebuilt’ or ‘Traditional’) and ask for the UAS Manufacturer and Model (Figure 1.10).
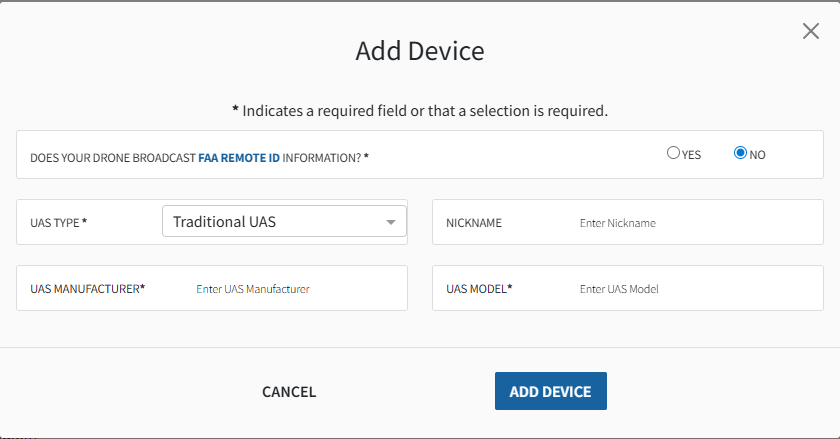
Figure 1.10: No Remote ID
- Whether you selected ‘Yes’ or ‘No’ to RemoteID, the dialog will ask for a Nickname (Figure 1.11) - this will be your identifier for the drone while within the FAA DroneZone system, so make it something identifiable. You don’t use this nickname anywhere else, so you don’t need to be creative if you don’t want to be.
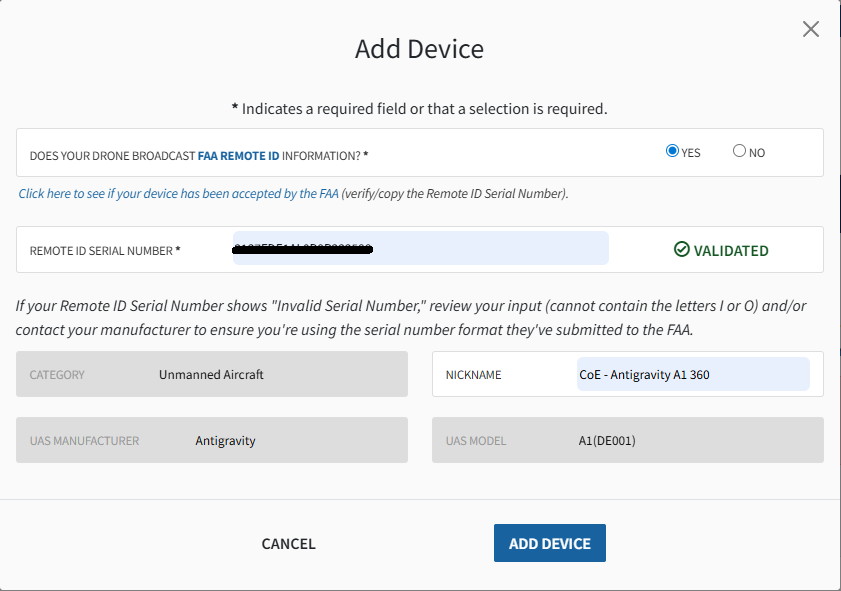
Figure 1.11: Serial Number Validated
- Click on ‘Add Device’ to move this to your shopping cart.
- Back at the Inventory page, ‘Your Shopping Cart’ will now show this drone’s information and a new buttom for ‘Checkout’ will appear. Click the button and the system will guide you through paying for the $5 registration fee.
1.2.5 Registration Certificate
Upon completion of paying for registration, the DroneZone will send you two emails, one with a receipt of payment and the other is a pdf copy of your UAS registration certificate (Figure 1.12). Keep a copy of this registration certificate available at all times while you operate. This can be done by either printing it out and placing it with your drone, or keeping a digital copy on your phone.
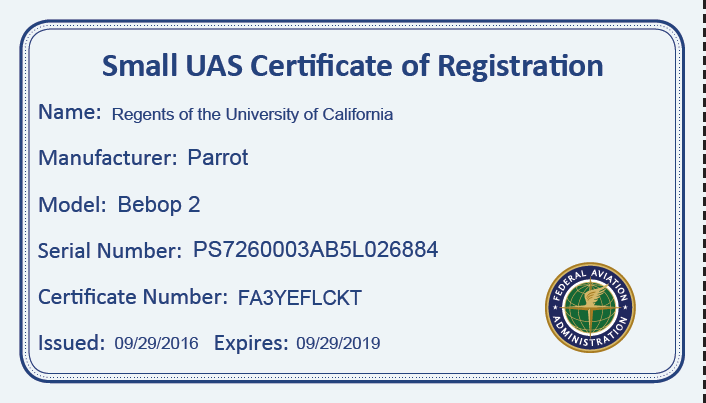
Figure 1.12: Example UAS Registration Certificate
We recommend that you upload the FAA registration certificate to UC Drones as an additional means of keeping the certificate available.
1.2.6 Marking the Drone
Your drone’s registration number is the 10 digit alphanumeric code that starts with FA. You must mark this on your drone on an external location, where it can be plainly visible.
We recommend either using a permanent oil-based fine tip paint marker (Figure 1.13) or creating a label that can be strongly affixed to the drone. We’ve found that regular sharpies or markers are rubbed off too easily to be effective.
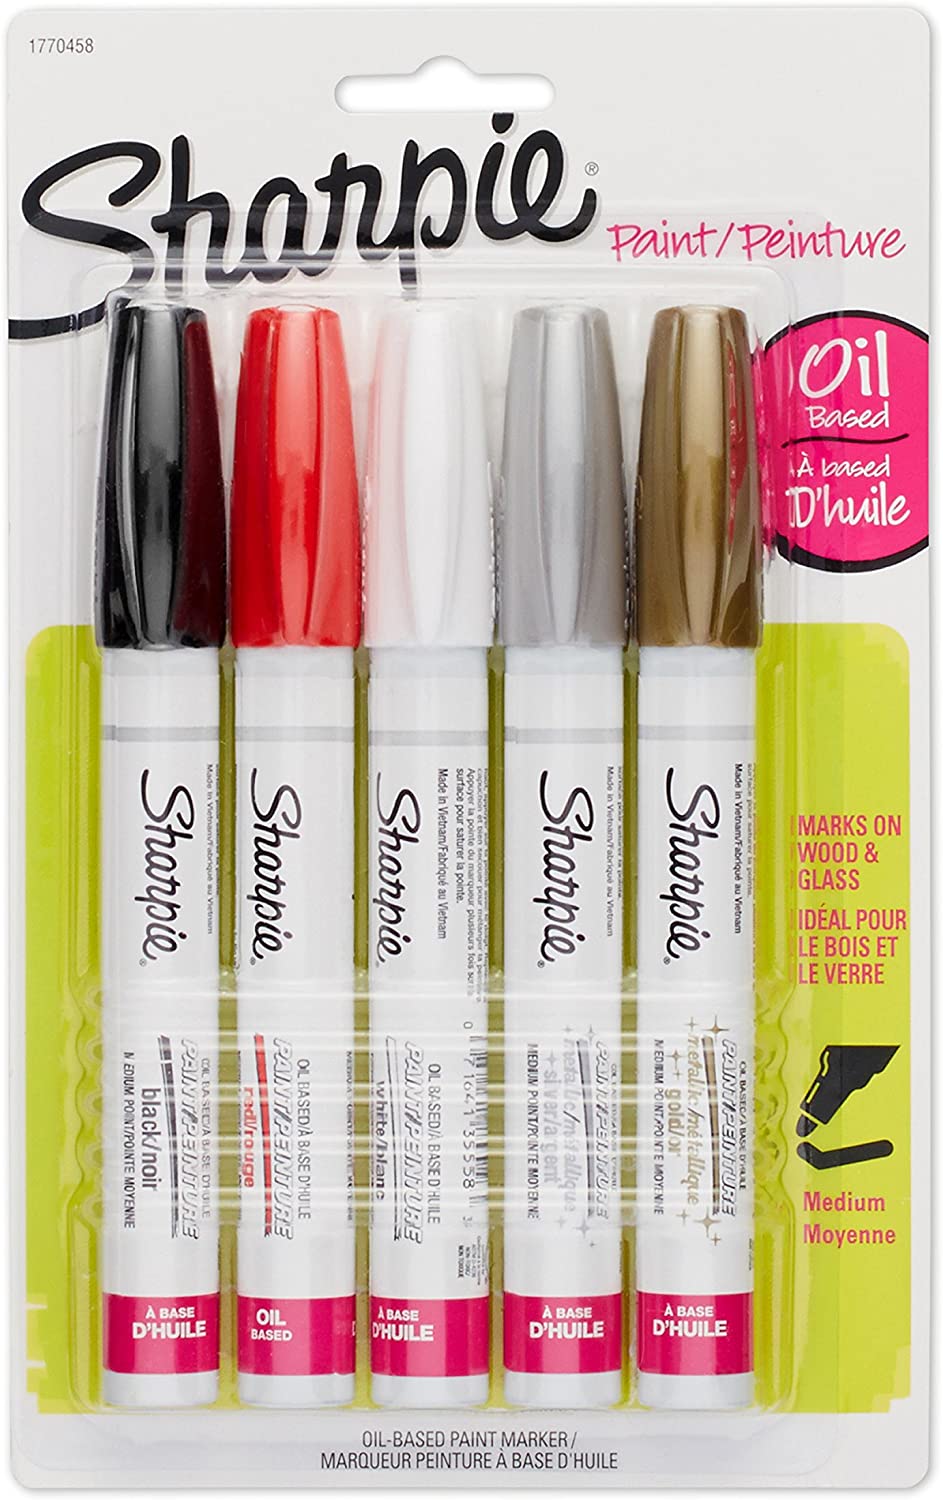
Figure 1.13: Oil-Based Paint Markers
If you’ll be working with a fleet of aircraft, it may also be useful to mark the ‘nickname’ of the drone as well.
UC Drones Registration Tag Generator - We also have a UC Drones registration tag generator - enter the drone’s nickname, your campus and the registration number to generate a simple tag you can print and attach to the drone.